Robots specificities
Calibration
Ned needs to be calibrated in three cases:
At the start-up
If the steppers motors lose their offset positions and need to re-calibrate
If the 3D view and Ned physical movements are not similar
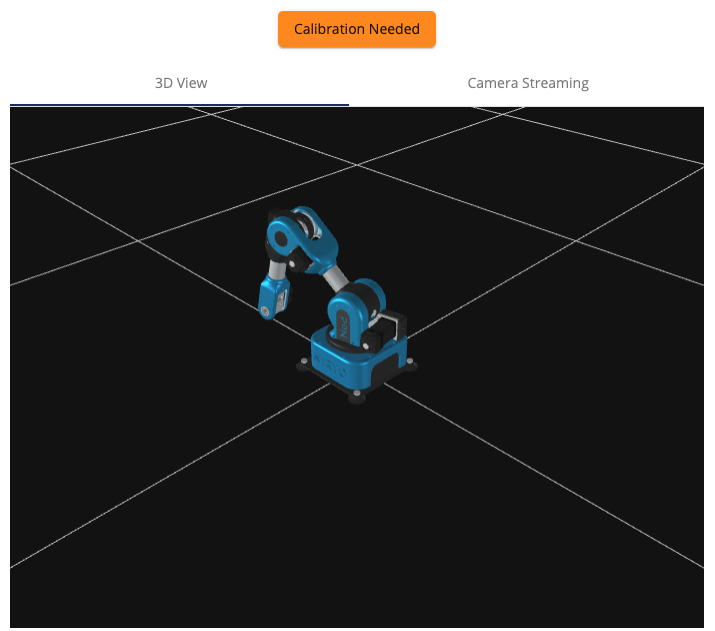
In most of the cases, Niryo Studio will alert you by showing “CALIBRATION NEEDED” on the top right.
Note
In the case of “CALIBRATION NEEDED”, you can’t perform any command on Ned without calibrating it.
To perform a calibration, click on the button “Request new calibration” in the “ROBOT CALIBRATION” section.

After clicking, a “Calibration Needed” warning will appear on top of the 3D view.
When the “Calibration Needed” warning appears, you can click on it to perform an auto calibration or you can click on the “Auto calibration” button in the “ROBOT CALIBRATION” section.


By choosing auto-calibration, Ned will execute an automatic sequence by moving its axis that needs to be calibrated until they reach their maximum position, so a correct offset can be applied to each motor. This sequence should take about 20-30 seconds. When the calibration is over, Ned will come back to a resting position.
Caution
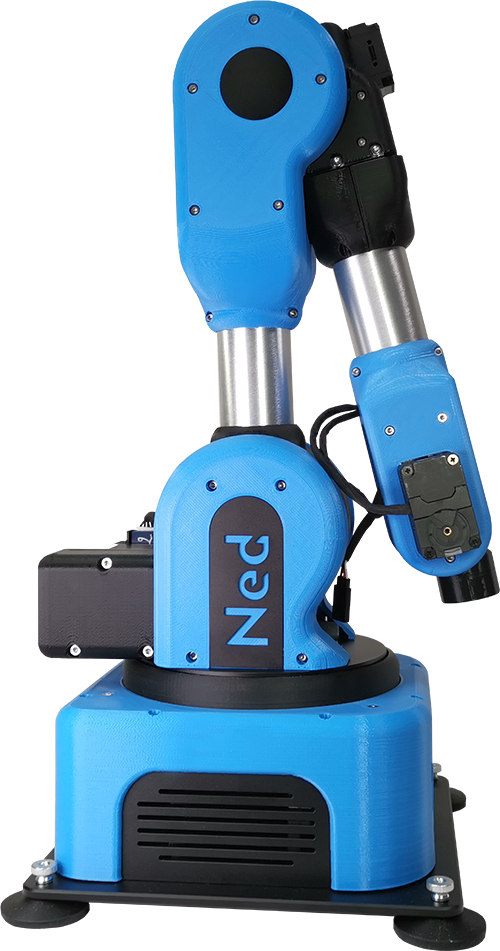
Before launching the auto-calibration, make sure that there is no obstacle around Ned. You should put Ned in a proper position before performing the calibration. The position in the picture below is recommended. This will avoid damaging Ned, collision, and any hazard motion.

Note
If the calibration is not successful, the “Calibration Needed” warning will still be displayed. Try the calibration again and if this new calibration does not succeed, it can mean that your robot has a mechanical/hardware issue.
Hint
You can check if the calibration has succeeded by moving the robot and examine the robot motion in the 3D view.
Learning mode
Niryo robots have two operating modes: the manual mode (Learning mode) and the automatic mode. The current mode can be determined visually in Niryo Studio, via the Learning Mode button position.


- Manual mode/learning mode: when Ned is in learning mode, the toggle on Niryo Studio is on.
In this mode, the user can guide Ned by hand. In this case, there is no torque applied on the joints and motors are in relaxed mode. This mode is recommended when no program is running.
- Automatic Mode (Learning Mode is deactivated): The Learning Mode does not work under Automatic Mode.
It is not possible to move Ned by hand. This mode is active when a program is running or when Ned is performing a motion.
Caution
Do not try to override the motor’s torque when learning mode is disabled: you could damage the robot and the motors. You can force to eliminate the risk or you can unplug the power supply ONLY in case of emergency (Ned blocked or application freezed)
Hint
Activate the learning mode when the program is paused or stopped.
Free motion (For Ned2)
For Ned2, the term “Learning mode” has been replaced by “Free motion”, but the functionality is identical. To use it, you now have to press and hold the “Free motion” button to activate it.
