Robot connection
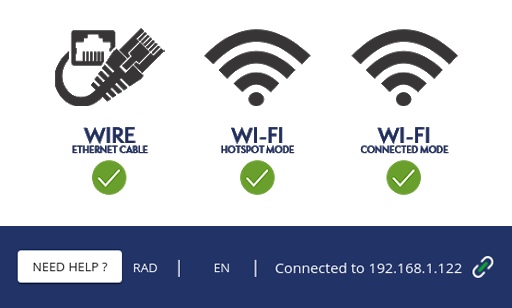
There are three ways to connect Ned to Niryo Studio:
Wired connection (Ethernet cable)
Wireless connection (Wi-Fi):
Hotspot mode (the robot provides its own Wi-Fi network)
Connected mode (the robot is connected on your network)
Using Ned in Hotspot mode
If the LED on the back panel is blue, that means you can connect to Ned via its own Wi-Fi. In this case Ned IP address is 10.10.10.10.
Ned has its own Wi-Fi network, which starts with “NiryoRobot” followed by a series of numbers and letters. To connect, follow the steps below:
Connect to the Wi-Fi access point using your laptop with the password “niryorobot”
Click the arrow near “Not connected” to access Ned connection
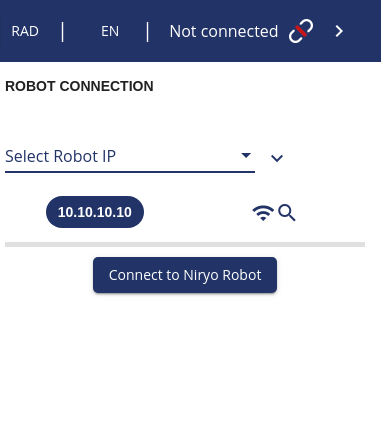
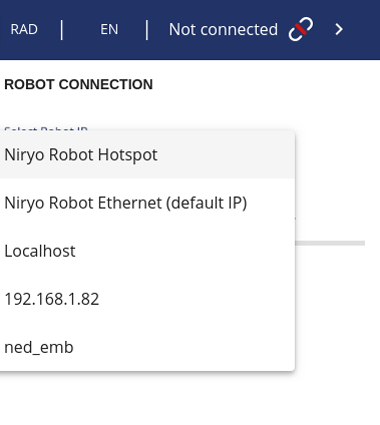
Select “Niryo Robot Hotspot” and connect
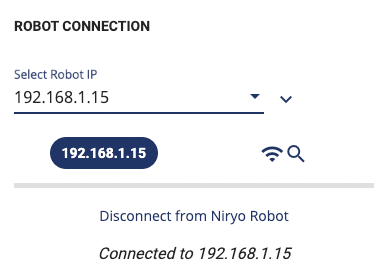
To disconnect from Ned, open the connection panel again and click on “Disconnect”
Using Ned on your Wi-Fi network
If Ned is connected to the Wi-Fi network (see the robot settings section), the LED on the back panel is green.
To connect Ned to Niryo Studio, please follow the following steps:
Connect your computer to the same Wi-Fi network as Ned,
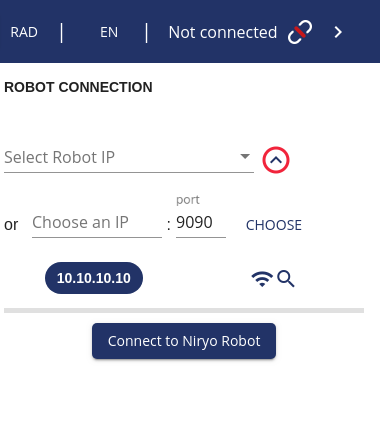
If you do not know your robot IP address, open the connection panel and click on the “Wi-Fi + Search” button. This will search for connected robots inside the current Wi-Fi network. Choose the correct IP address and click “Connect Niryo Robot”,
If you gave a custom name to Ned, select it by its name,
If you already know your Ned’s IP address, click the arrow, enter your IP address and connect to the robot.
Using Ned with an Ethernet cable
You can also use an Ethernet cable to physically connect Ned with your computer.
Connect Ned to your local network (computer or switch) using the LAN port,
Modify the selected IP address on the connection panel to “Niryo Robot Ethernet (default IP)”,
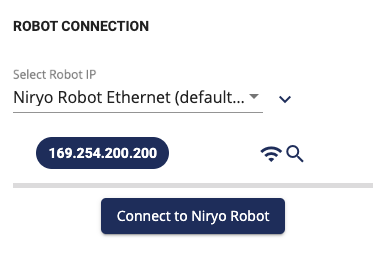
Connect to Ned.
Using Ned in simulation with Niryo Studio
Simulators such as Rviz or Gazebo must be launched on the same computer as the one running Niryo Studio.
Click the arrow near “Not connected” to access the robot connection,
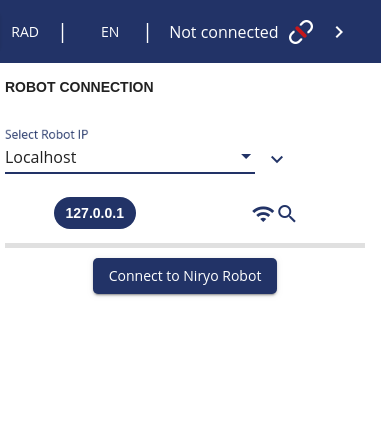
Select “Localhost” and connect.