Mouse control application
V.1.1

Difficulty: easy
Time: ~15 min
Note
- This tutorial is working from:
- The version v3.0.0 of the ned_ros_stackThe version v3.0.0 of Niryo StudioThe version v3.1.0 of PyNiryo
Introduction
This documentation explains how can Ned/Ned2 be controled with a mouse, in a simulated environment as well as the real robot, using the PyNiryo library.
Requirements
In order to perform this application, you need to have:
Ned/Ned2 (with software v.2)
Eventually, plug the desired end-effector
Clone the current github repository of the application with:
git clone https://github.com/NiryoRobotics/ned_applications.git
Install PyNiryo with the following command line:
pip3 install pyniryo
For more information about PyNiryo installation, please refer to this page.
Important
If you perform this application on the real robot, we suggest you to unplug the Vision Set.
How to control Ned/Ned2 with the mouse
Ned can be controlled in a simulated environment as well as in the real world.
Simulation environment control
Important
If you haven’t followed the step of Simulation environment installation you won’t be able to use the simulation
Hardware features won’t be accessible
Launch:
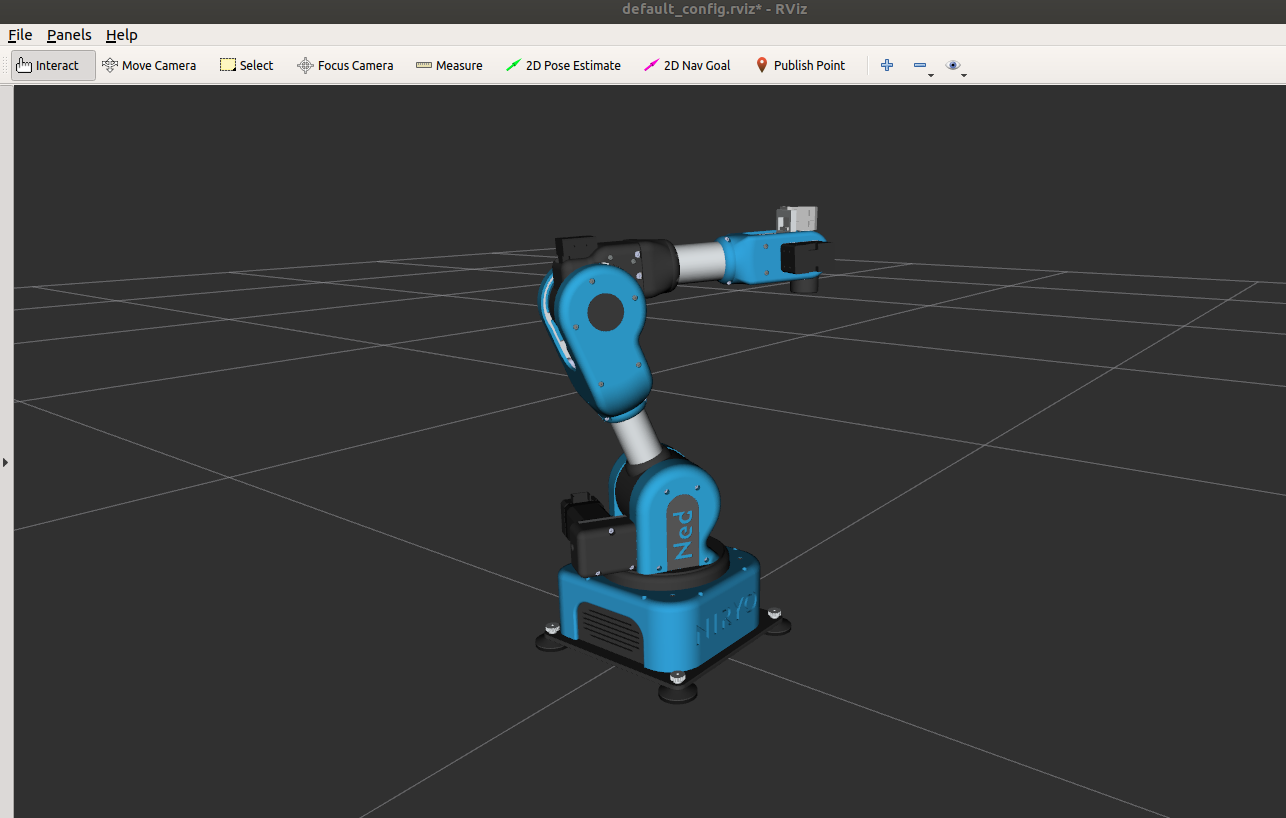
First, you need to launch Ned/Ned2’s simulation either with Rviz:
roslaunch niryo_robot_bringup desktop_rviz_simulation.launch
or with Gazebo (uses more CPU calculations):
roslaunch niryo_robot_bringup desktop_gazebo_simulation.launch

Ned Rviz Simulation
Then, in the repository folder, launch the API to control the robot, which is a Python file from the repository using PyGame:
python3 robot_ned.py
Note
This API is currently written in Python 3, so you need to have PyGame installed for Python3 as well as PyNiryo. You can do it using command lines with ‘pip3 install pygame’ and ‘pip3 install pyniryo’.
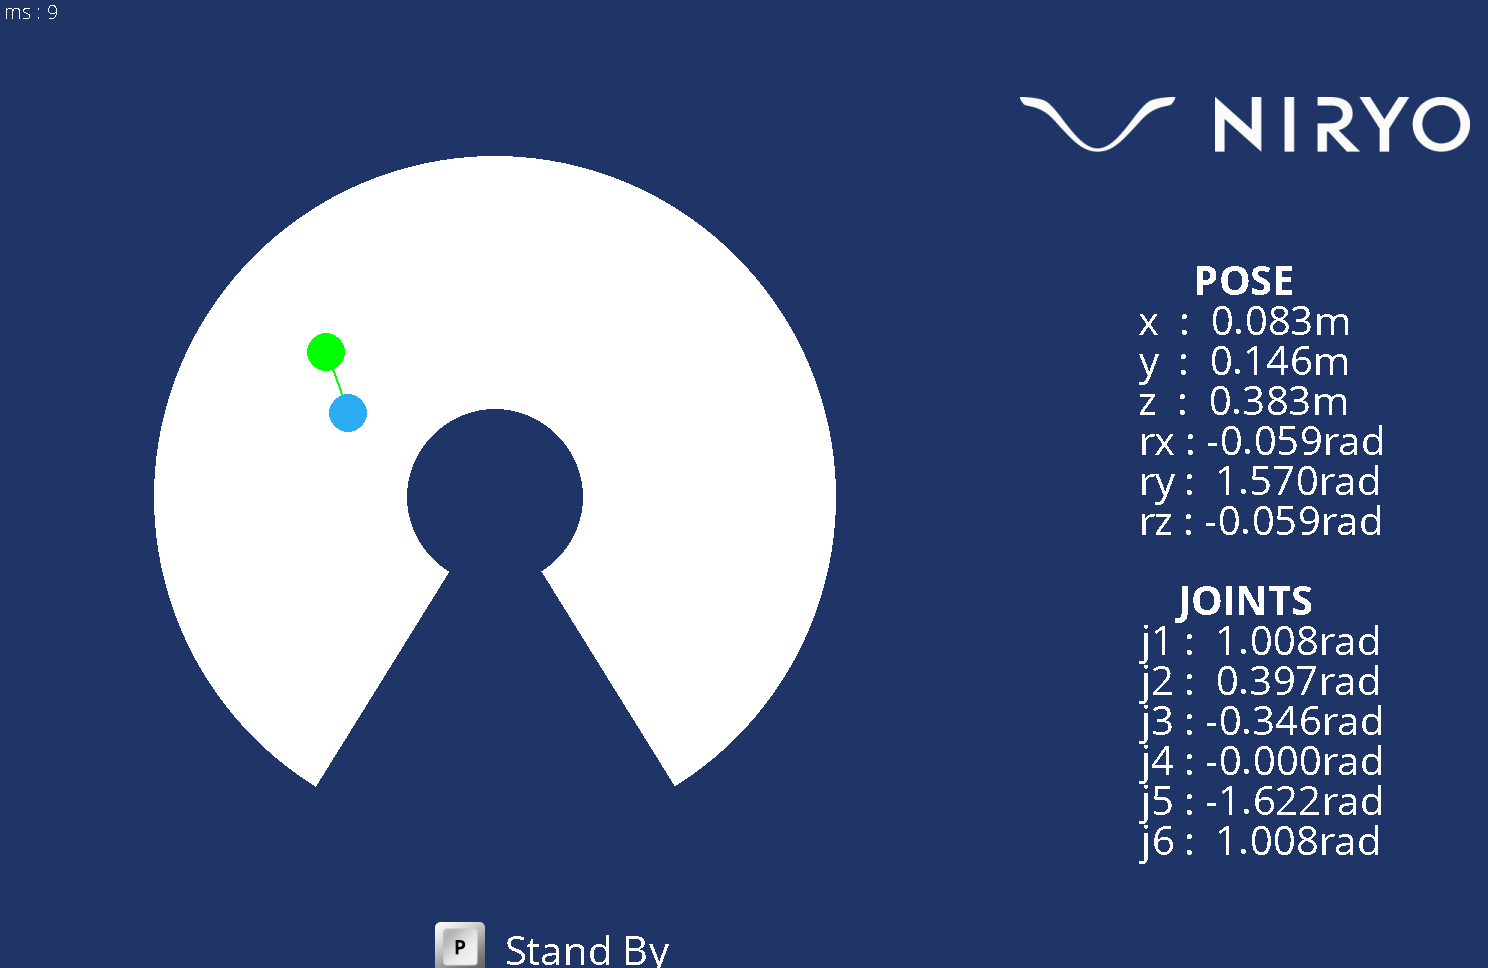
Once everything is launched, here is what you should see:

Mouse Control API
The white area contains the end effector’s reachable area. It automatically adapts to the end effector’s height. The robot is at the center of this area, the blue dot is the effector current position and the green dot is the mouse position. Their diameter matches the effector’s height.
Controls:
You can now:
Use the scroll wheel to change the end effector’s height
Use the right click to open/close the end effector
P key to pause the application
Esc key to close API application
X key to switch from rad to deg
Real Environment Control
To control the real Ned/Ned2 with the mouse, you first need to specify the IP address of the robot you are connected to. The IP address of the robot is specified when you connect to it with Niryo Studio. You can then specify the IP address in the robot_ned.py file, like:
robot_ip = "169.254.200.200"
You can then launch the mouse control API, by launching:
python robot_ned.py
Important
Beware of moving carefully the mouse when you launch the control API in order to avoid Ned/Ned2’s sudden moves.
Code Documentation
This application uses Ned/Ned2’s PyNiryo API and PyGames to develop the graphic interface.
The robot_ned.py file:
This file generates the API to control the robot. It ensures the connection to the robot using its IP.
Note
If you use the simulated robot, its IP is “127.0.0.1”. Otherwise, you can find it with Niryo Studio. You can change it in the robot_ned.py file, line 13.
This program continually gets the mouse’s position and transforms it to match with a position of the end effector in space. The jog_pose function is used to allow a continuous movement.
In order to avoid sudden movements, the distance between the robot and the desired position is reduced in several calls to the jog_pose function. Moreover, there is a maximum limit of the distance covered by one call to jog_pose, in order to avoid too quick movements.
Tips for Mouse Control
To have a fluid movement, we advise you to use an Ethernet connexion wth the robots.